Mac DNS Setup Guide

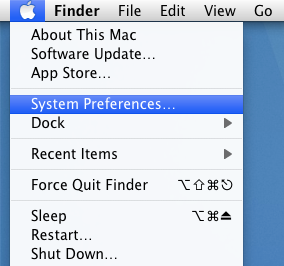
1. Navigate to the Mac OS "System Preferences".
2. Click on the "Network" in the "Internet & Wireless" section of the opened window.
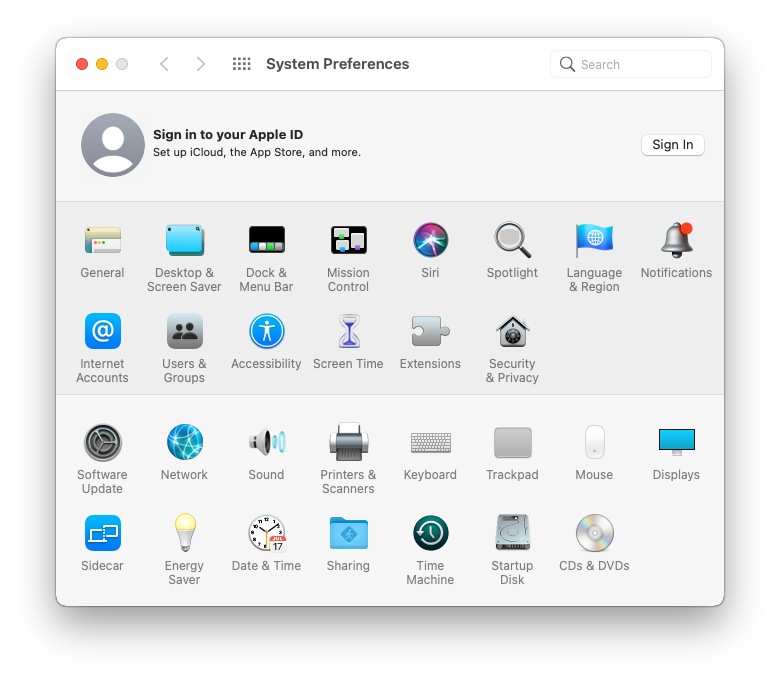
3. Choose an active connection from the list and click the "Advanced" button.

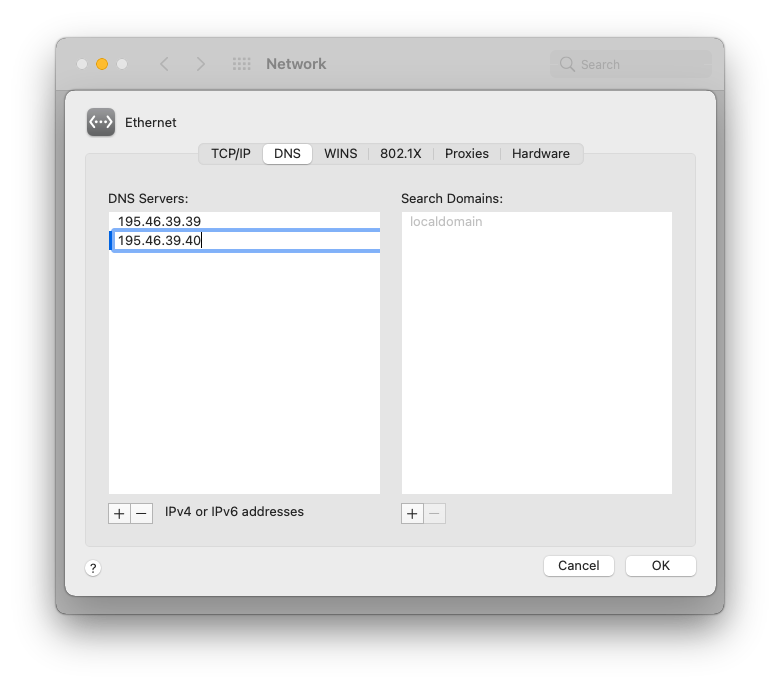
4. Select the "DNS" tab, add SafeDNS servers 195.46.39.39 and 195.46.39.40, and click "OK".
5. Navigate to the SafeDNS Dashboard > Settings and copy your IP address in the "Enter an IP address or DynDNS" box. Click "Add".
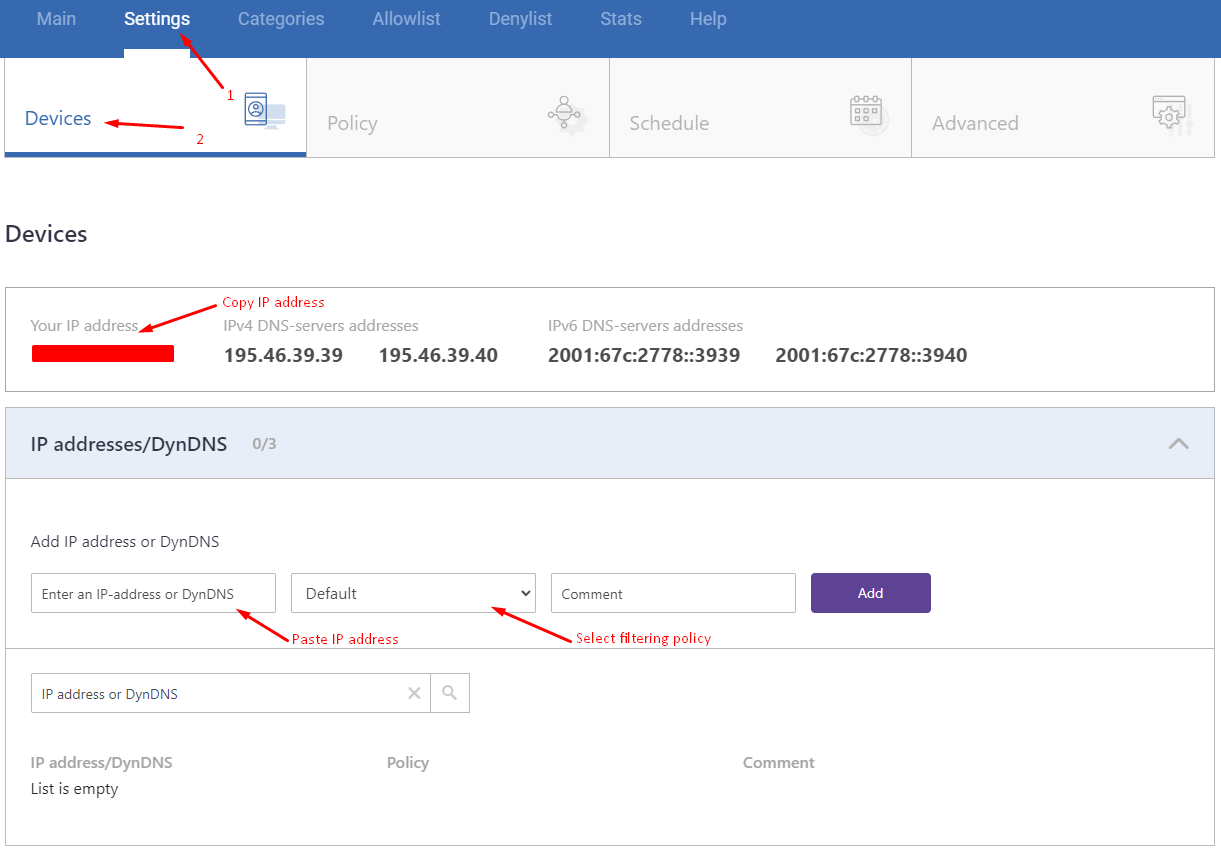
Your Mac is now filtered with the SafeDNS filtering policy.
!Please note that settings take 5-7 minutes to apply.
!Stats and filtering status update hourly.
Start using SafeDNS for free
Take advantage of the SafeDNS trial period and try all the best features